Instant Pot Caramel Flan

Instant Pot Caramel Flan
Print Recipe
Servings Prep Time
12 servings 30 minutes
Cook Time Passive Time
14 minutes 15 minutes
Servings Prep Time
12 servings 30 minutes
Cook Time Passive Time
14 minutes 15 minutes
Instant Pot Caramel Flan
Print Recipe
Servings Prep Time
12 servings 30 minutes
Cook Time Passive Time
14 minutes 15 minutes
Servings Prep Time
12 servings 30 minutes
Cook Time Passive Time
14 minutes 15 minutes
Ingredients
Servings: servings
Instructions
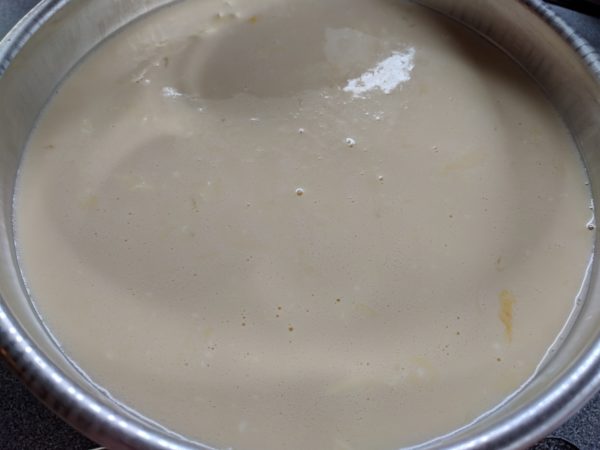
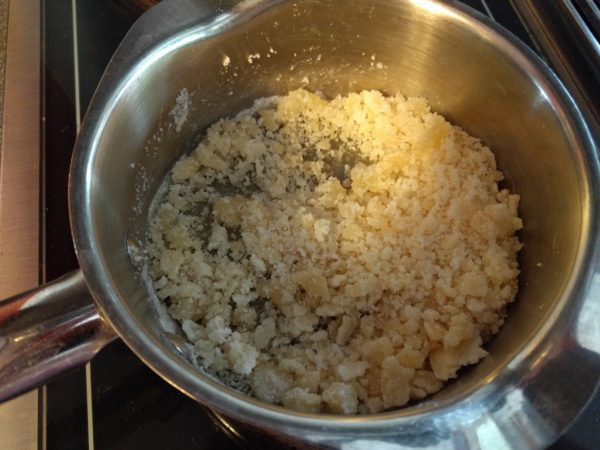
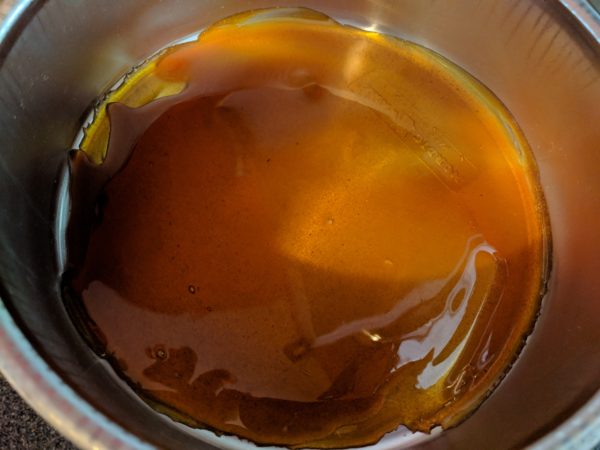
  1. In a heavy saucepan, cook and stir sugar over medium-low heat until melted and golden, about 20 minutes. (This photo was taken about 10 minutes into the stirring time.)
  2. Pour into 8" round cake pan with at least 2" sides and cover bottom of pan.
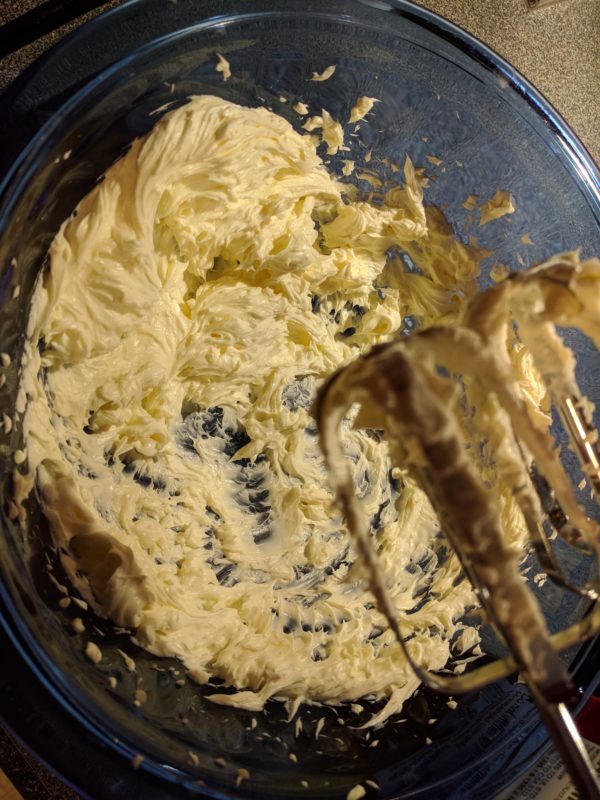
  3. In a large bowl, beat the cream cheese until smooth.
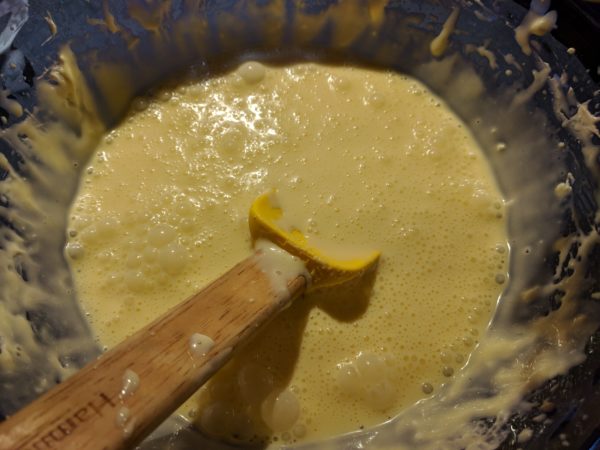
  4. Beat in eggs, one at a time, until thoroughly blended.
  5. Add remaining ingredients, mixing well.
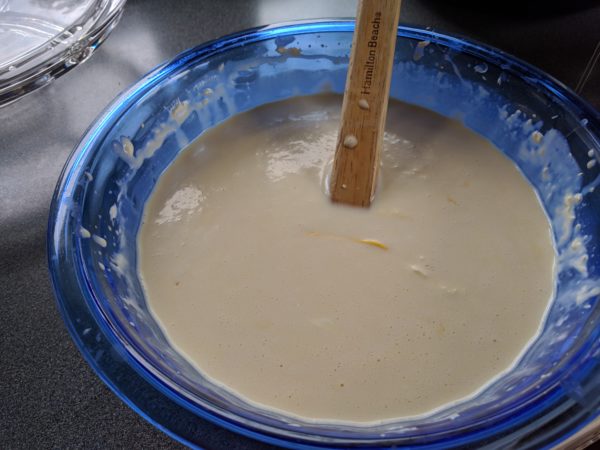
  6. Pour into pan over caramel base.
  7. Put 1 1/2 cups of water into Instant Pot insert. Layer an Instant Pot sling, the trivet, the baking pan and a lid (or foil).
  8. Place into Instant Pot and close lid, making sure valve is in the "sealing" position. Set on high pressure for 14 minutes. When time is up, turn Instant Pot off, but leave lid in place.
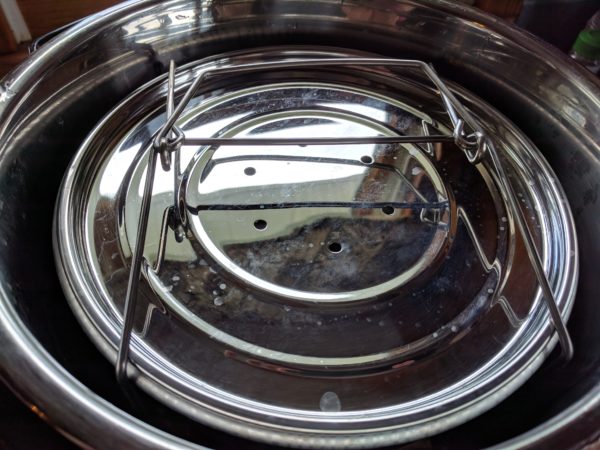
  9. Let pressure natural release completely. When the pin has dropped, remove lid and remove the sling with the flan. Let cool on rack for awhile until cool enough to refrigerate.
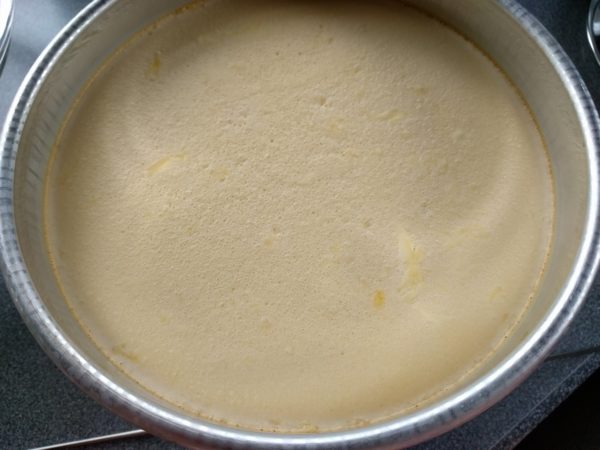
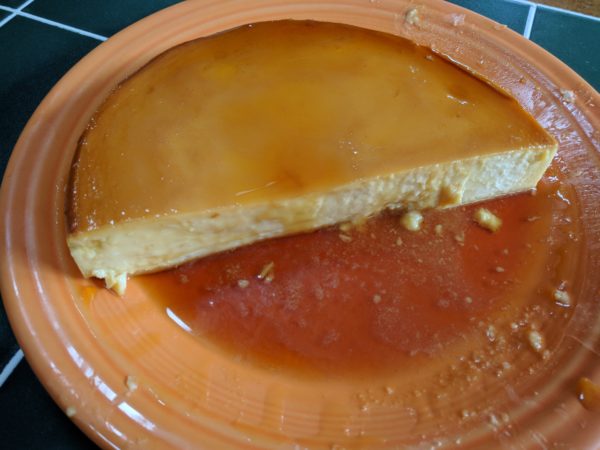
  10. Refrigerate until cool. Slide a knife around edge of pan to release. Place a plate with a lip or a slope over pan and quickly turn over to remove flan onto serving plate.
Share this Recipe
Powered byWP Ultimate Recipe

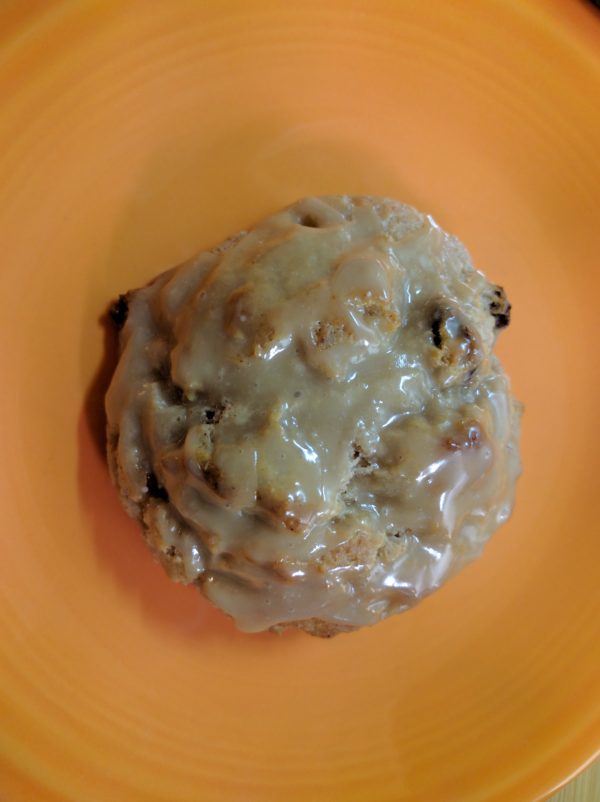
Cinnamon Sour Cream Biscuits

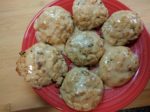
These actually have more the consistency of muffins, but they are wonderful, regardless!  I make them for me and our grandsons with raisins, but substitute chocolate chips for the raisins for my husband.

Cinnamon Sour Cream Biscuits
Print Recipe
Servings Prep Time
6 servings 5 minutes
Cook Time
12 minutes
Servings Prep Time
6 servings 5 minutes
Cook Time
12 minutes
Cinnamon Sour Cream Biscuits
Print Recipe
Servings Prep Time
6 servings 5 minutes
Cook Time
12 minutes
Servings Prep Time
6 servings 5 minutes
Cook Time
12 minutes
Ingredients
Glaze
Servings: servings
Instructions
  1. If you are using a baking stone, place that in the oven. Preheat oven to 450 degrees.
  2. In large mixing bowl, combine flour, sugar, baking powder, cinnamon, salt, and baking soda. Cut in butter. You can make up a large batch and store it at this point, in the freezer or refrigerator.
  3. Add sour cream, milk and raisins or chocolate chips, stirring just until combined.
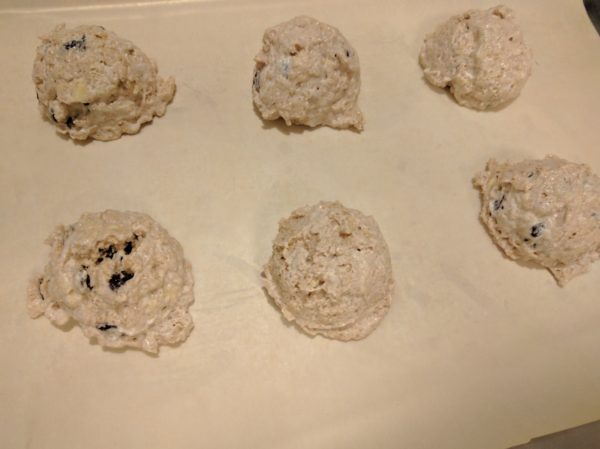
  4. If you are not using a baking stone, line the cookie sheet with parchment paper. Scoop out onto baking sheet (I use a 2 oz. scoop). Bake for 12 minutes. Cool slightly, then drizzle with glaze.
  5. This will make 11-12 mini muffins. Just use a 1 oz. scoop and bake in the mini muffin maker for 5 minutes.
Recipe Notes

The biscuit ingredients before adding the milk, sour cream, and raisins or chocolate chips measures 1 3/4 cups and weighs about 236 grams, so if you want to, you can mix up a big batch of the flour mixture, store in the refrigerator or freezer, then measure out just what you need and continue with the recipe.

Share this Recipe
Powered byWP Ultimate Recipe

Healthier Buttermilk Pancakes

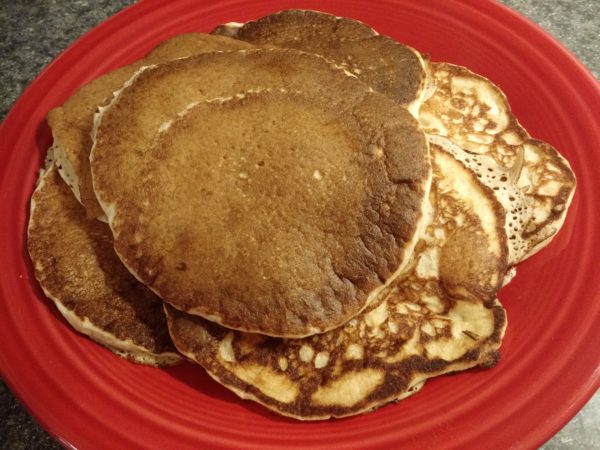
This recipe came from www.thebusybaker.ca/2015/04/healthy-buttermilk-pancakes.html.  The idea is that the butter and sugar is replaced with mashed banana, which makes it healthier.  They were pretty good, light and fluffy, had a bit of a banana taste, but not too much.  I cut the recipe down because it made a huge batch!

Healthier Buttermilk Pancakes
Print Recipe
Servings Prep Time
8 4-5" pancakes 10 minutes
Cook Time
20 minutes
Servings Prep Time
8 4-5" pancakes 10 minutes
Cook Time
20 minutes
Healthier Buttermilk Pancakes
Print Recipe
Servings Prep Time
8 4-5" pancakes 10 minutes
Cook Time
20 minutes
Servings Prep Time
8 4-5" pancakes 10 minutes
Cook Time
20 minutes
Ingredients
Servings: 4-5" pancakes
Instructions
  1. Whisk together flour, baking powder, baking soda and salt in a medium sized bowl. Set aside.
  2. Mash banana. Add egg and vanilla and beat until smooth. I just used a fork.
  3. Add banana mixture and buttermilk to flour mixture. Stir everything just until combined.
  4. Heat well seasoned cast iron (or your choice) griddle over medium heat. Add a little butter or oil if necessary. Ladle about 1/2 cup batter at a time onto griddle. When you see some of the bubbles around the edge begin to break, flip the pancakes over. Cook on the other side just until a nice golden brown. Serve immediately!
Recipe Notes

Although spelt is actually a type of wheat flour, most people with wheat allergies can digest spelt flour with no problem.  Obviously, you should not eat spelt if it is a problem for you.

Nutrition info for 2 pancakes (1/4 of the batch):

179 calories, 4 g fat, 301 mg potassium, 30 g carb, 2 g fiber, 7 g sugar, 8 g protein

Share this Recipe
Powered byWP Ultimate Recipe

Easy Belgian Waffles

These are easy and only use 2 bowls (not 4 like the recipe I used to make)!

Easy Belgian Waffles
Print Recipe
Servings
6 waffles
Servings
6 waffles
Easy Belgian Waffles
Print Recipe
Servings
6 waffles
Servings
6 waffles
Ingredients
Servings: waffles
Instructions
  1. In large bowl, mix together dry ingredients; set aside. Preheat waffle iron.
  2. In a separate bowl, beat the eggs. Stir in the milk, butter and vanilla. Pour the milk mixture into the flour mixture; beat until blended.
  3. Generously spray your waffle iron with no-stick cooking spray. Ladle the batter into a preheated waffle iron. Cook the waffles until golden and crisp.
Recipe Notes

Although spelt is actually a type of wheat flour, most people with wheat allergies can digest spelt flour with no problem.  Obviously, you should not eat spelt if it is a problem for you.

Share this Recipe
 
Powered byWP Ultimate Recipe

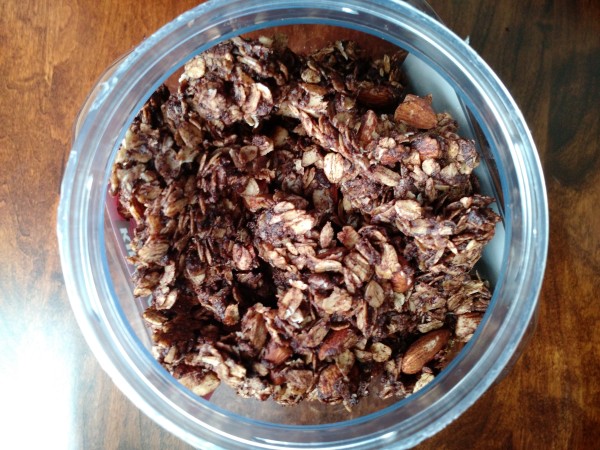
Chocolate Almond Granola

This is not at all sweet, but my husband loves it!  Of course, if you prefer it sweeter, add more brown sugar or honey!

Chocolate Almond Granola
Print Recipe
Servings Prep Time
8 servings 10 minutes
Cook Time
20 minutes
Servings Prep Time
8 servings 10 minutes
Cook Time
20 minutes
Chocolate Almond Granola
Print Recipe
Servings Prep Time
8 servings 10 minutes
Cook Time
20 minutes
Servings Prep Time
8 servings 10 minutes
Cook Time
20 minutes
Ingredients
Servings: servings
Instructions
  1. Preheat the oven to 350 degrees. Line a large cookie sheet with parchment paper. Set aside. Combine all dry ingredients in large bowl. Combine liquid ingredients and add to dry ingredients. Stir to mix. Spread onto parchment paper lined baking sheet. Bake for 15 minutes, then stir. Return to oven and bake for another 10 minutes without stirring. Remove from oven and allow to cool completely. Break into large clusters. Store in covered container at room temperature.
Share this Recipe
Powered byWP Ultimate Recipe

Easy Homemade Healthy Granola

A delicious, healthy snack that even the kids will love!  This is wonderful as is, or change it up to make it your own.  Add  dried fruit,  chocolate chips in place of the cacao nibs, or raw sunflower seeds or pumpkin seeds.  Pistachios taste especially good in this also!

This is the ideal snack if you are following an alkalizing diet!

This granola is perfect for using in my Fruit and Yogurt Parfait:  https://www.cherylsrecipes.net/recipe/fruit-yogurt-parfait/

This works great as a cold cereal with milk.  It is also wonderful served on oatmeal for a little extra flavor and crunch:

Oatmeal


Easy Homemade Healthy Granola
Print Recipe
Servings
12 cups
Servings
12 cups
Easy Homemade Healthy Granola
Print Recipe
Servings
12 cups
Servings
12 cups
Ingredients
Servings: cups
Instructions
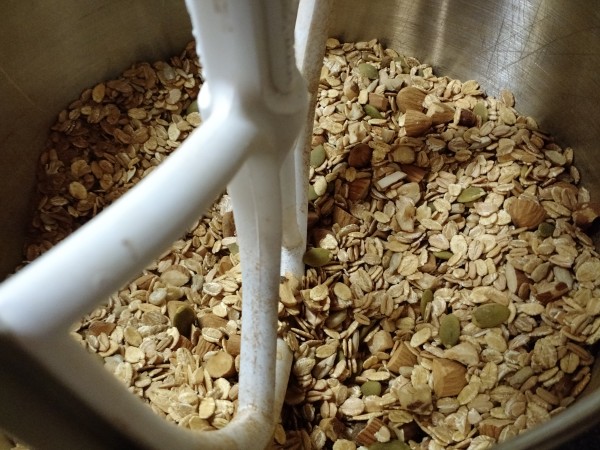
  1. Preheat oven to 350. Line 2 baking sheets with parchment paper. Combine dry ingredients in a large bowl and set aside. Combine liquid ingredients in a smaller bowl. Mix wet and dry ingredients together thoroughly until evenly mixed. Spread on cookie sheets lined with parchment paper. Bake for 25 minutes, stirring halfway through. Remove from oven to cool. Break into clusters when completely cool. Store in an airtight container when cool.
Share this Recipe
Powered byWP Ultimate Recipe

Flourless Chocolate Truffle Cake

This is great because you don’t need to go out and buy all kinds of gluten-free flours, or any kind of flour!  It almost has the consistency of a cheesecake and is delicious!

If you prefer, you can omit the almond extract and put in 2T. of pure vanilla extract instead.

Flourless Chocolate Truffle Cake
Print Recipe
Servings Prep Time
16 servings 15 minutes
Cook Time
60 minutes
Servings Prep Time
16 servings 15 minutes
Cook Time
60 minutes
Flourless Chocolate Truffle Cake
Print Recipe
Servings Prep Time
16 servings 15 minutes
Cook Time
60 minutes
Servings Prep Time
16 servings 15 minutes
Cook Time
60 minutes
Ingredients
Servings: servings
Instructions
  1. Preheat the oven to 350 degrees. Line the inside bottom of a 9" Springform pan with a circle of parchment paper. Grease the sides of the pan. Set aside. In a medium sauce pan, gently heat the cream over low heat. When the cream is fairly hot, melt the chocolate chips by adding them slowly to the pan as you whisk. Add the butter, in pieces. Whisk until the chocolate and butter are melted. Add the vanilla extract. As soon as the mixture is melted, smooth, and glossy, remove it from the heat. Using a wire whisk attachment, beat the eggs, brown sugar and sea salt until the eggs are foamy and doubled in volume. Slowly add the chocolate mixture to the eggs, and beat gently until combined. Pour the batter into the prepared cake pan. Bake in the center of a pre-heated oven for one hour, until the cake is set and cracked. It will appear a bit loose in the center, underneath. This is fine. Place the cake pan on a wire rack to cool. When the cake is close to room temperature, lightly cover and chill the cake overnight. Before serving, gently loosen the cake from the sides of the pan using a thin flexible spatula. Release the Springform clasp and remove the ring. Place the cake on a cake plate. Dust with a sifting of powdered sugar.
Recipe Notes

This recipe originally came from glutenfreegoddess.blogspot.com.  I made a few changes, which are reflected here.

Share this Recipe
 
Powered byWP Ultimate Recipe